Growing loofah in the ground gives these vigorous tropical vines exactly what they want: room to spread their roots, consistent soil moisture, and the freedom to climb as high as they can reach. It's the easiest way to get a serious harvest.
But "easy" doesn't mean "plant and forget." Loofah has specific requirements, and getting them right from the start makes the difference between a vine that produces abundantly and one that struggles all season.
This guide walks you through everything from finding the right spot in your yard to building support structures that can handle these aggressive climbers. By the end, you'll have a clear plan for turning a patch of garden into your personal loofah farm.
Understanding the Loofah Plant
The loofah plant (Luffa aegyptiaca) is a tropical vine in the Cucurbitaceae family—closely related to cucumbers, squash, and melons. There's also a ridged variety called Luffa acutangula, though most gardeners grow the smooth species for sponge production. Like tomatoes, peppers, and other warm-season vegetables, loofah plants thrive in summer heat and die at the first touch of frost.
What makes loofah unique among garden vegetables is its dual purpose. Young green luffas can be harvested and eaten like zucchini, with a mild flavor and tender texture. But most gardeners grow loofah for what happens at maturity: the fibrous interior that becomes the natural loofah sponge used in showers, baths, kitchens, and soap making around the world. One healthy outdoor plant can produce enough loofahs to supply your household for years, with plenty left over to share.
Climate & Growing Conditions
Loofah is a warm-climate crop that needs a long, frost-free growing season—typically 150-200 days from seed to mature sponge. This makes climate one of the most important factors in outdoor success. Gardeners in hot climates (zones 8-10) can direct-sow seeds outdoors and expect abundant harvests. Those in cooler climates (zones 5-7) need to start loofah seeds indoors 6-8 weeks before the last frost to give plants enough time to mature before fall.
Temperature Requirements
Loofah plants perform best when daytime temperatures stay between 75-95°F and nighttime temperatures remain above 60°F. Growth stalls when temperatures drop below 50°F, and frost kills the plant outright. In humid climates, loofah vines grow vigorously but face increased pressure from fungal diseases like powdery mildew—good air circulation becomes essential. In hot, dry climates, the main issue is keeping up with water demands as temperatures climb.
Understanding your local weather patterns helps you plan for success. If your growing season is borderline, consider using black plastic mulch to warm the soil faster in spring, or growing loofah against a south-facing wall that radiates stored heat. Containers offer another option for anyone in marginal climates—see our container growing guide for details.
Essential Outdoor Growing Supplies

Twira Heavy-Duty Metal Garden Arch Trellis (7.9FT)
Rust-proof galvanized steel supports 100+ lbs of vines and fruit. Perfect height for loofah's vigorous growth.
Check Price on Amazon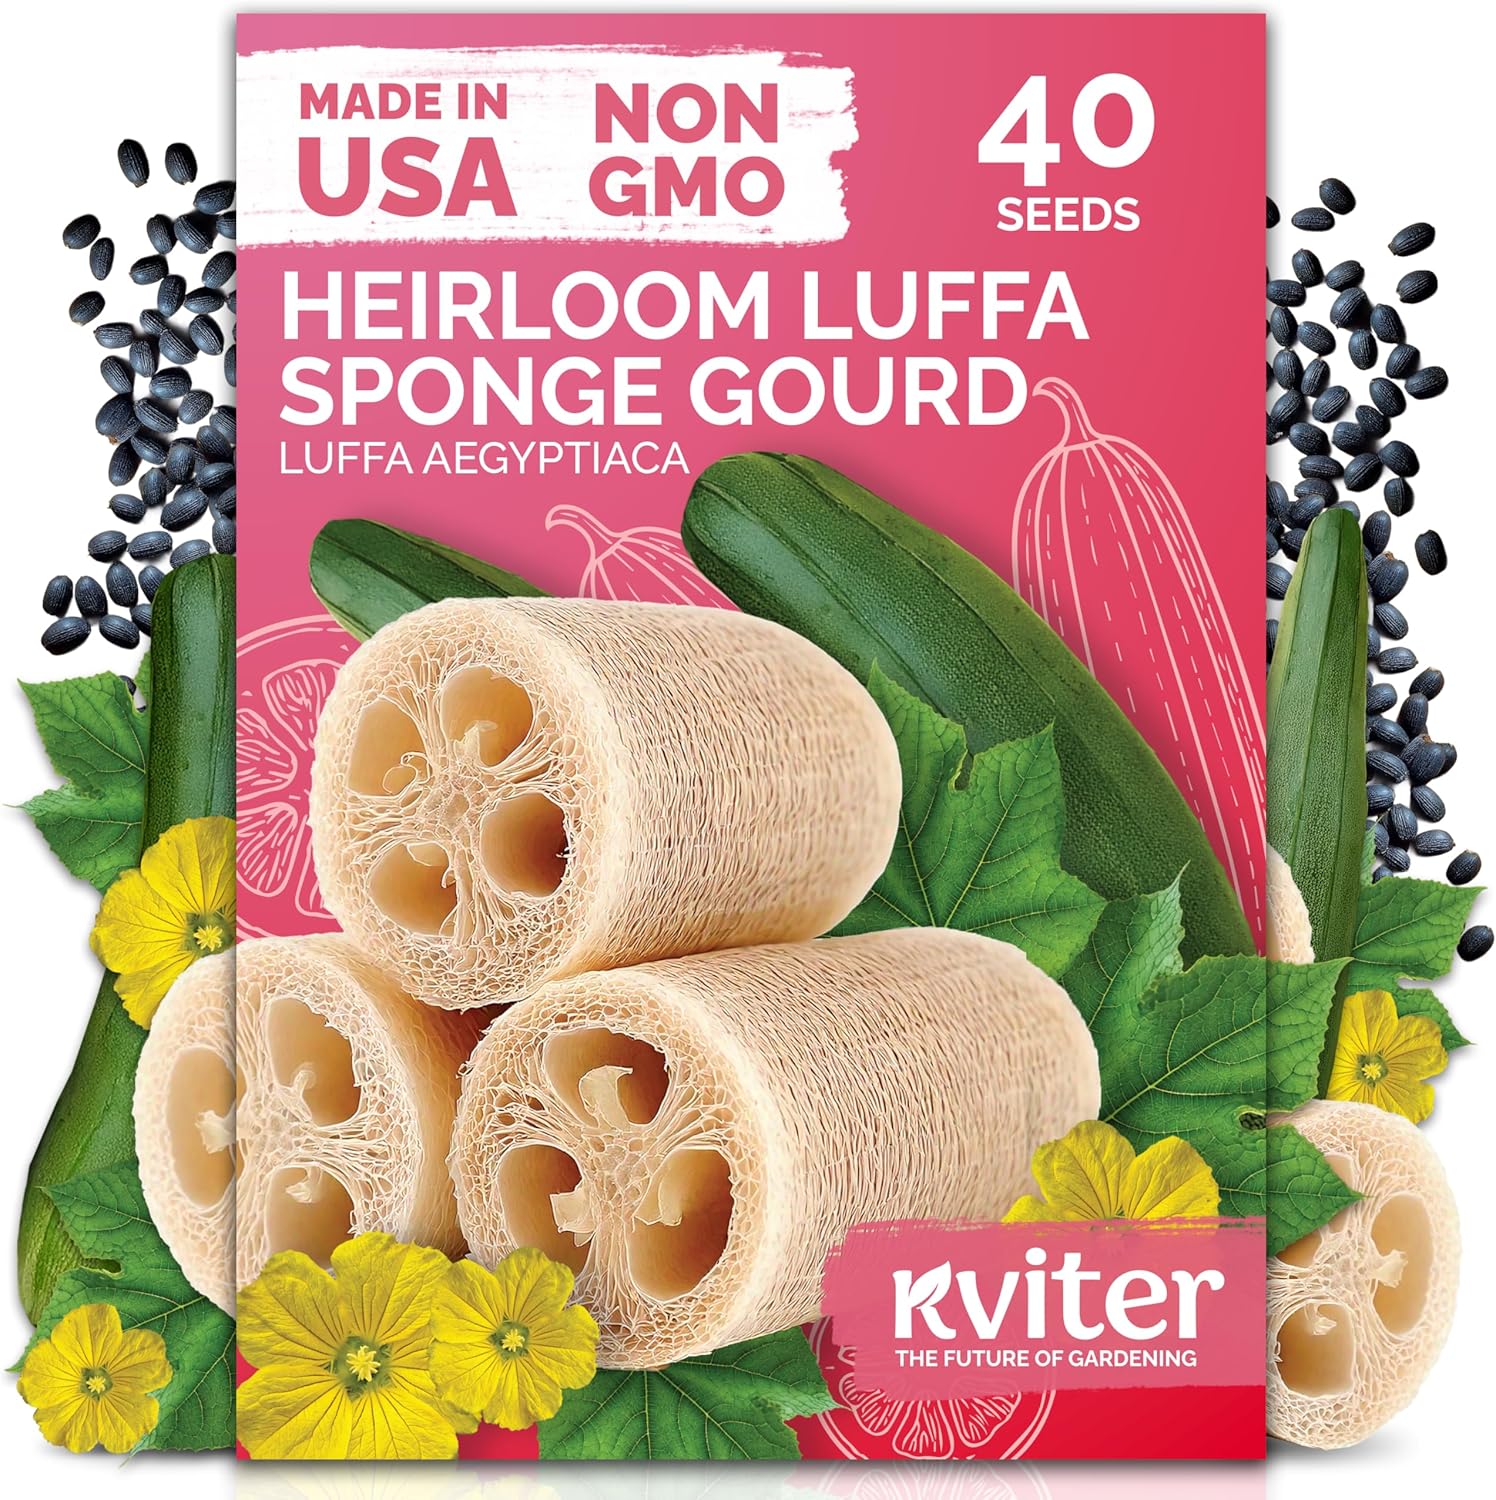
KVITER Heirloom Luffa Seeds (40 Count)
Fast-sprouting non-GMO seeds with 90%+ germination rate. Perfect for beginners wanting reliable results.
Check Price on AmazonFinding the Perfect Spot
Before you break ground, walk your yard with fresh eyes. You're looking for a specific combination of conditions, and settling for less will cost you in yield.
The Non-Negotiables
Loofah is a sun worshipper. The more light it gets, the more flowers and fruit it produces. South-facing locations are ideal in the Northern Hemisphere. Partial shade leads to leggy vines, fewer female flowers, and smaller gourds.
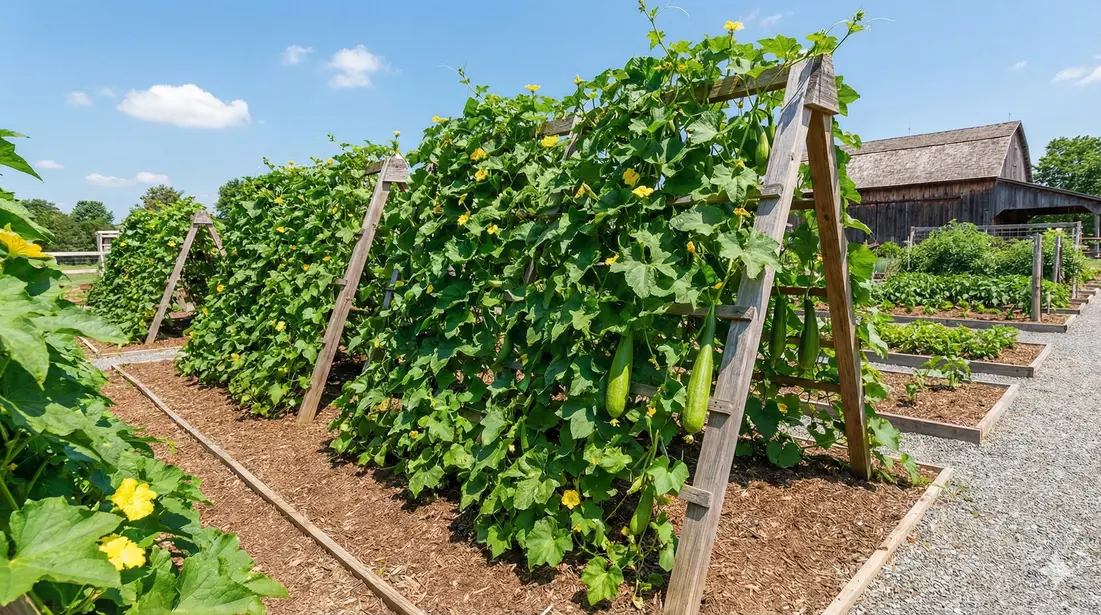
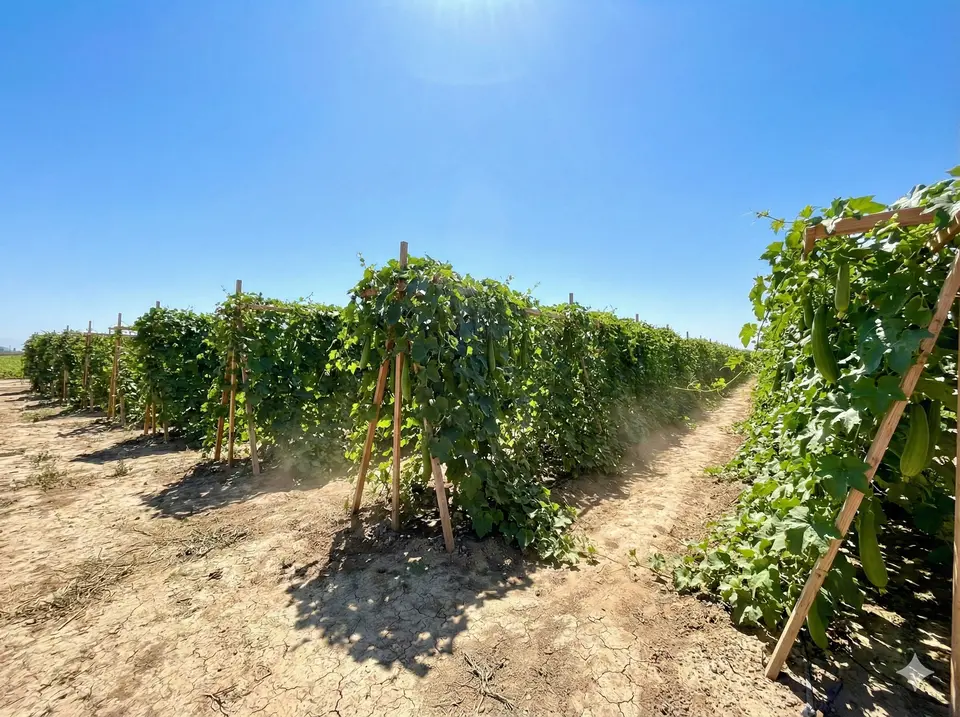
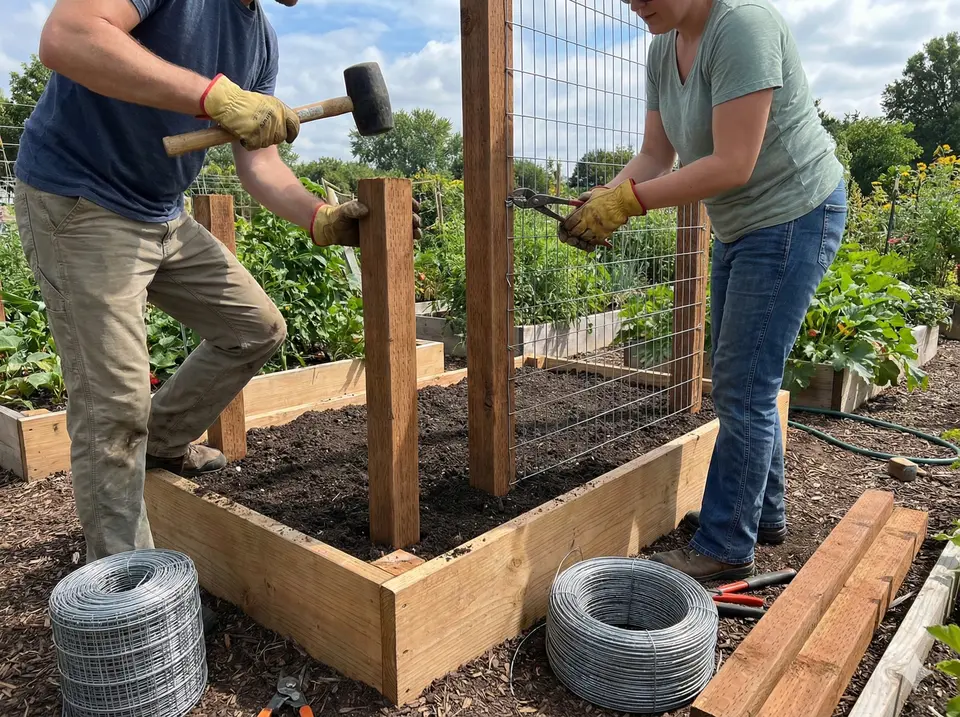
These vines get BIG—20-30 feet long in good conditions. You need something for them to climb: a fence, arbor, pergola, or a trellis you'll build. Plan for this before planting, not after.
Loofah loves moisture but hates wet feet. Avoid low spots where water collects after rain. If your soil is heavy clay that drains slowly, you'll need to amend it significantly or build a raised bed.
Bonus Features to Look For
- Wind protection: A fence, building, or hedge on the north/west side blocks cold winds and provides something to attach a trellis to
- Heat reflection: South-facing walls, fences, or pavement reflect warmth back onto plants, extending your growing season
- Water access: Being close to a hose or irrigation makes consistent watering much easier
- Visibility: Putting loofah where you'll see it daily means you'll notice problems before they become serious
Preparing Your Soil
Loofah is a heavy feeder that will occupy the same spot for 5-7 months. Taking time to prepare the soil properly pays dividends all season long.
What Loofah Wants
| Factor | Ideal | Acceptable |
|---|---|---|
| Soil pH | 6.0 - 6.8 | 5.5 - 7.5 |
| Texture | Loose, loamy | Sandy to clay loam |
| Organic matter | High (5%+) | Moderate (3%+) |
| Drainage | Well-drained | Not waterlogged |
Step-by-Step Soil Preparation
- Test your soil (optional but helpful): A basic pH test tells you if adjustments are needed
- Clear the area: Remove weeds, grass, and debris from a 4x4 foot area per plant
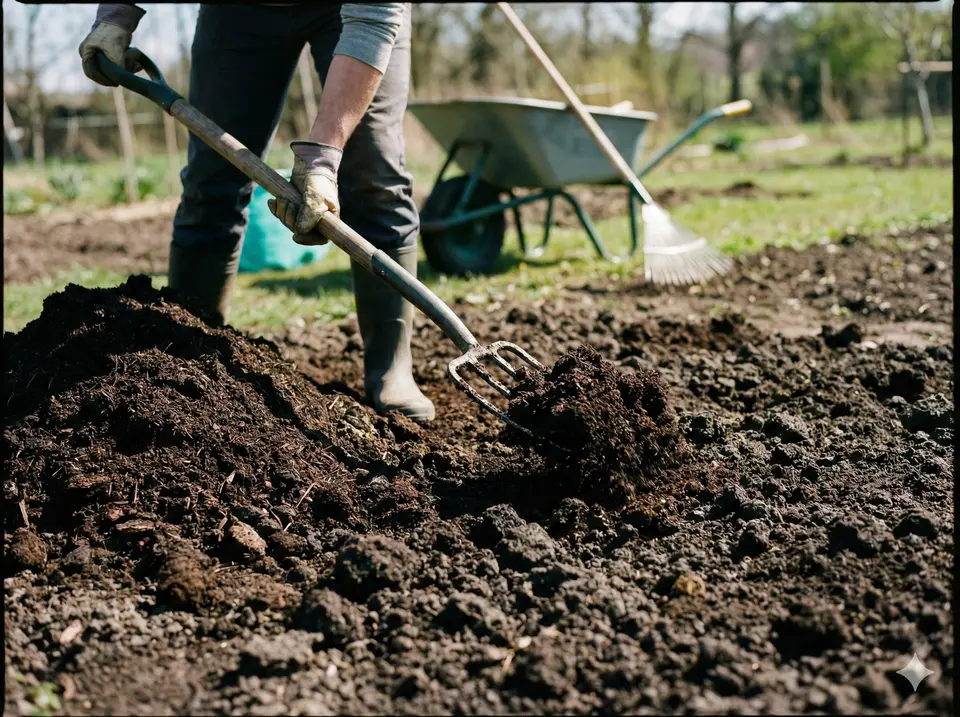
- Loosen deeply: Dig or till 12-18 inches deep—loofah roots go deep
- Add organic matter: Mix in 3-4 inches of compost or aged manure
- Add fertilizer: Work in granular all-purpose fertilizer (10-10-10)
- Shape into mound: A slight raised mound improves drainage and warms faster
Building Your Trellis First
Here's a mistake I see constantly: gardeners plant their loofah, then scramble to build support as the vine starts sprawling everywhere. Build your trellis before planting.
Why Vertical Growing Matters
- Straighter gourds: Hanging fruit grows long and uniform
- Better air circulation: Reduces fungal diseases
- Easier harvesting: Gourds are visible and accessible
- Space efficiency: Vine grows up instead of sprawling
- Fewer pest problems: Fruit off the ground avoids slugs
Trellis Options That Work
- Cattle panel arch: Affordable, strong, can span a garden path
- T-post with wire: Simple DIY—posts with heavy-gauge wire between
- Existing fence: May need height extension with netting
- Pergola or arbor: Dual purpose—shade underneath, vines on top
- A-frame trellis: Build from lumber, vine covers both sides
For detailed plans and more ideas, see our complete trellis guide.
Planting Day
Starting Loofah Seeds
Whether you're starting loofah seeds indoors or direct sowing, seed quality matters. Look for seeds with high germination rates (85%+) from reputable suppliers. Loofah seeds have a tough outer coat that benefits from soaking in warm water for 24-48 hours before planting—this can improve germination rates significantly and shave days off sprouting time.
In most climates, starting loofah seedlings indoors gives you a critical head start. Plant seeds 1 inch deep in pots or seed trays 6-8 weeks before your last frost date. Keep soil temperatures between 75-85°F for best results—a heat mat helps in cool rooms. Expect sprouts in 7-14 days. Grow loofah seedlings under strong light until they have 3-4 true leaves and outdoor conditions are ready.
Timing Is Everything
Plant outdoors when:
- All danger of frost has passed (2 weeks after last frost date)
- Soil temperature is at least 65°F
- Nighttime temps stay above 55°F consistently
For most regions, this means late May to early June. See our zone-specific planting calendar.
Transplanting Seedlings
- Water seedlings thoroughly a few hours before
- Dig a hole slightly larger than the root ball
- Plant at the same depth—don't bury the stem deeper
- Water deeply immediately after
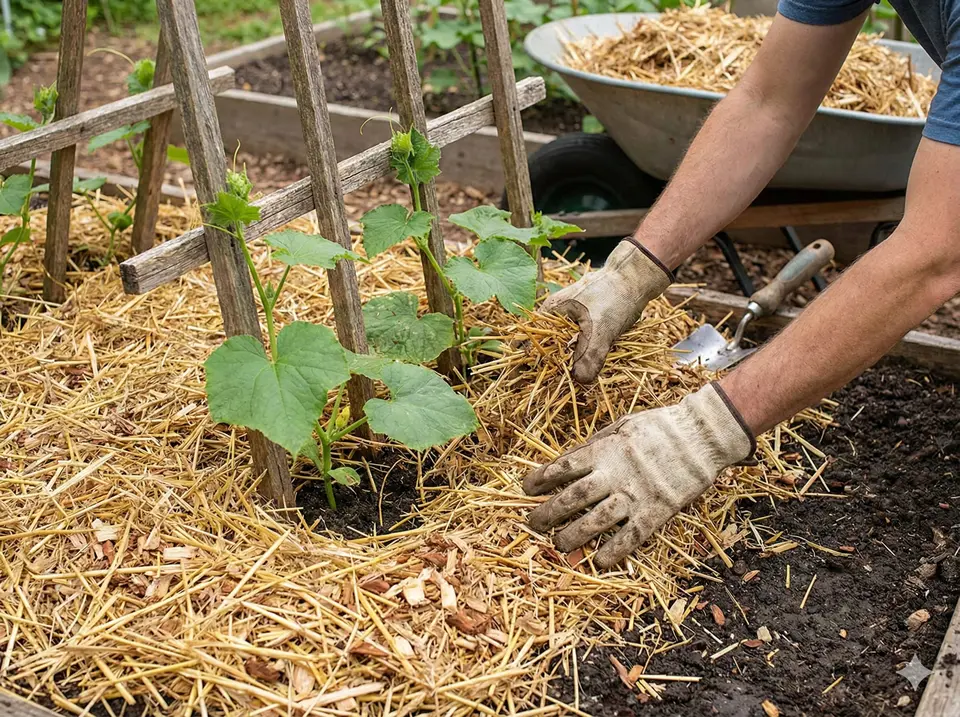
- Mulch 2-3 inches around the base (not touching stem)
Direct Sowing (Zones 8-10)
- Wait until soil is consistently 70°F+
- Soak seeds overnight
- Plant 1 inch deep, 3-4 feet apart
- Keep moist until germination (7-14 days)
Ongoing Care Through the Season
Watering
Aim for 1-2 inches per week from rain or irrigation.
- Morning watering: Leaves dry quickly, reducing disease
- Deep soaking: Better than frequent light watering
- Mulch: 3-4 inches dramatically reduces watering needs
Feeding
- Every 2-3 weeks: Side-dress with compost or balanced fertilizer
- When flowering: Switch to lower-nitrogen (5-10-10)
- Stop fertilizing: 4-6 weeks before frost
Training Vines
Guide young vines onto your trellis. Check weekly and redirect wayward growth. Pinch the growing tip once the vine reaches the top to encourage side branching.
Pruning for Better Yields
Strategic pruning helps loofah plants direct energy toward fruit production instead of endless green growth. Once your vine reaches the top of its trellis, pinch the main growing tip to encourage lateral branching where female flowers form. Remove any suckers growing from the base that compete for nutrients, and thin out excessive foliage that blocks air circulation or shades developing gourds. Some gardeners also remove late-season flowers that won't have time to mature before frost—this channels the plant's remaining energy into ripening existing fruit.
Making Sure You Get Fruit
Loofah produces separate male and female flowers—bright yellow blossoms that open in the morning and close by afternoon. Males appear first on thin stems; females have a miniature gourd at their base. Successful pollination requires pollen transfer from male to female flowers, either by pollinators or by hand.
Bees are your best friends during flowering season. Honeybees, bumblebees, and native pollinators naturally visit loofah blossoms and do the work for you. To attract more pollinators to your garden, plant bee-friendly flowers nearby—zinnias, marigolds, and sunflowers all bloom during loofah season. Avoid pesticides during flowering, as they kill the beneficial insects you need.
If flowers drop without fruit developing—a common issue in urban gardens or areas with low pollinator populations—try hand pollinating:
- Pick an open male flower and remove petals
- Touch pollen to the stigma in a female flower
- One male can pollinate 2-3 females
More tips: pollination troubleshooting.
Common Outdoor Growing Problems
Even experienced gardeners encounter issues with loofah. The good news: most problems are preventable with attention to plant health and growing conditions.
Pests are among the biggest issues for outdoor loofah growers. Check plants regularly—early detection is key. Hand-pick beetles in early morning when they're sluggish. Row covers early in season prevent initial infestation, and companion planting with nasturtiums can deter some pests. Full pest guide →
Powdery mildew is the most common disease affecting outdoor loofah, especially in humid climates or during late summer when humidity spikes. Improve air circulation through proper spacing and pruning, water at the base rather than on leaves, and spray preventatively with diluted milk solution (1:9 milk to water). Disease guide →
If flowers drop without developing into gourds, the usual causes are pollination failure (try hand pollinating), temperature stress (extreme heat or cool nights), or inconsistent watering. Male flowers naturally drop after releasing pollen—that's normal. Watch the female flowers for fruit development.
What to Expect at Harvest
A well-grown outdoor loofah plant produces 10-25 gourds per season, depending on your climate, care, and variety. Mature loofahs typically reach 12-24 inches in length and 3-4 inches in diameter—plenty of size to cut into multiple sponges. The fibrous interior you're after develops as the gourd matures on the vine, so patience pays off.
These homegrown loofahs work beautifully for shower and bath exfoliation, kitchen scrubbing, and craft projects like soap making. Unlike commercial sponges that may be bleached or treated, yours will be 100% natural—just fiber you grew with your own hands. Most gardeners find that one season's crop provides enough loofahs for personal use plus gifts for friends and family.
Signs of Readiness
- Stop fertilizing 4-6 weeks before frost
- Reduce watering as gourds mature
- Leave on vine as long as possible
- Watch for drying signs: Brown skin, light weight, rattling seeds
- Harvest before hard frost
Complete instructions: harvest guide.