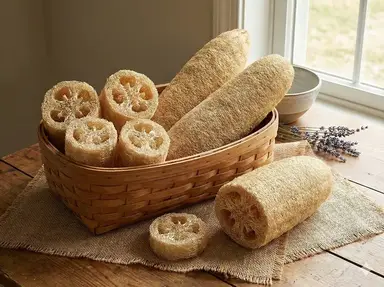
You've grown your loofah, waited patiently for them to mature, and harvested at just the right time. Now comes the satisfying final step: transforming those dried gourds into beautiful, functional sponges you can use in the bath, kitchen, or give as gifts.
Processing loofah is straightforward once you know the technique. This guide walks you through every step, from the initial soak to the final dry, with tips for getting the whitest, cleanest sponges possible. New to growing loofah? Check out our complete guide to growing loofah from seed to get started.
Grow Your Own Loofah Next Season
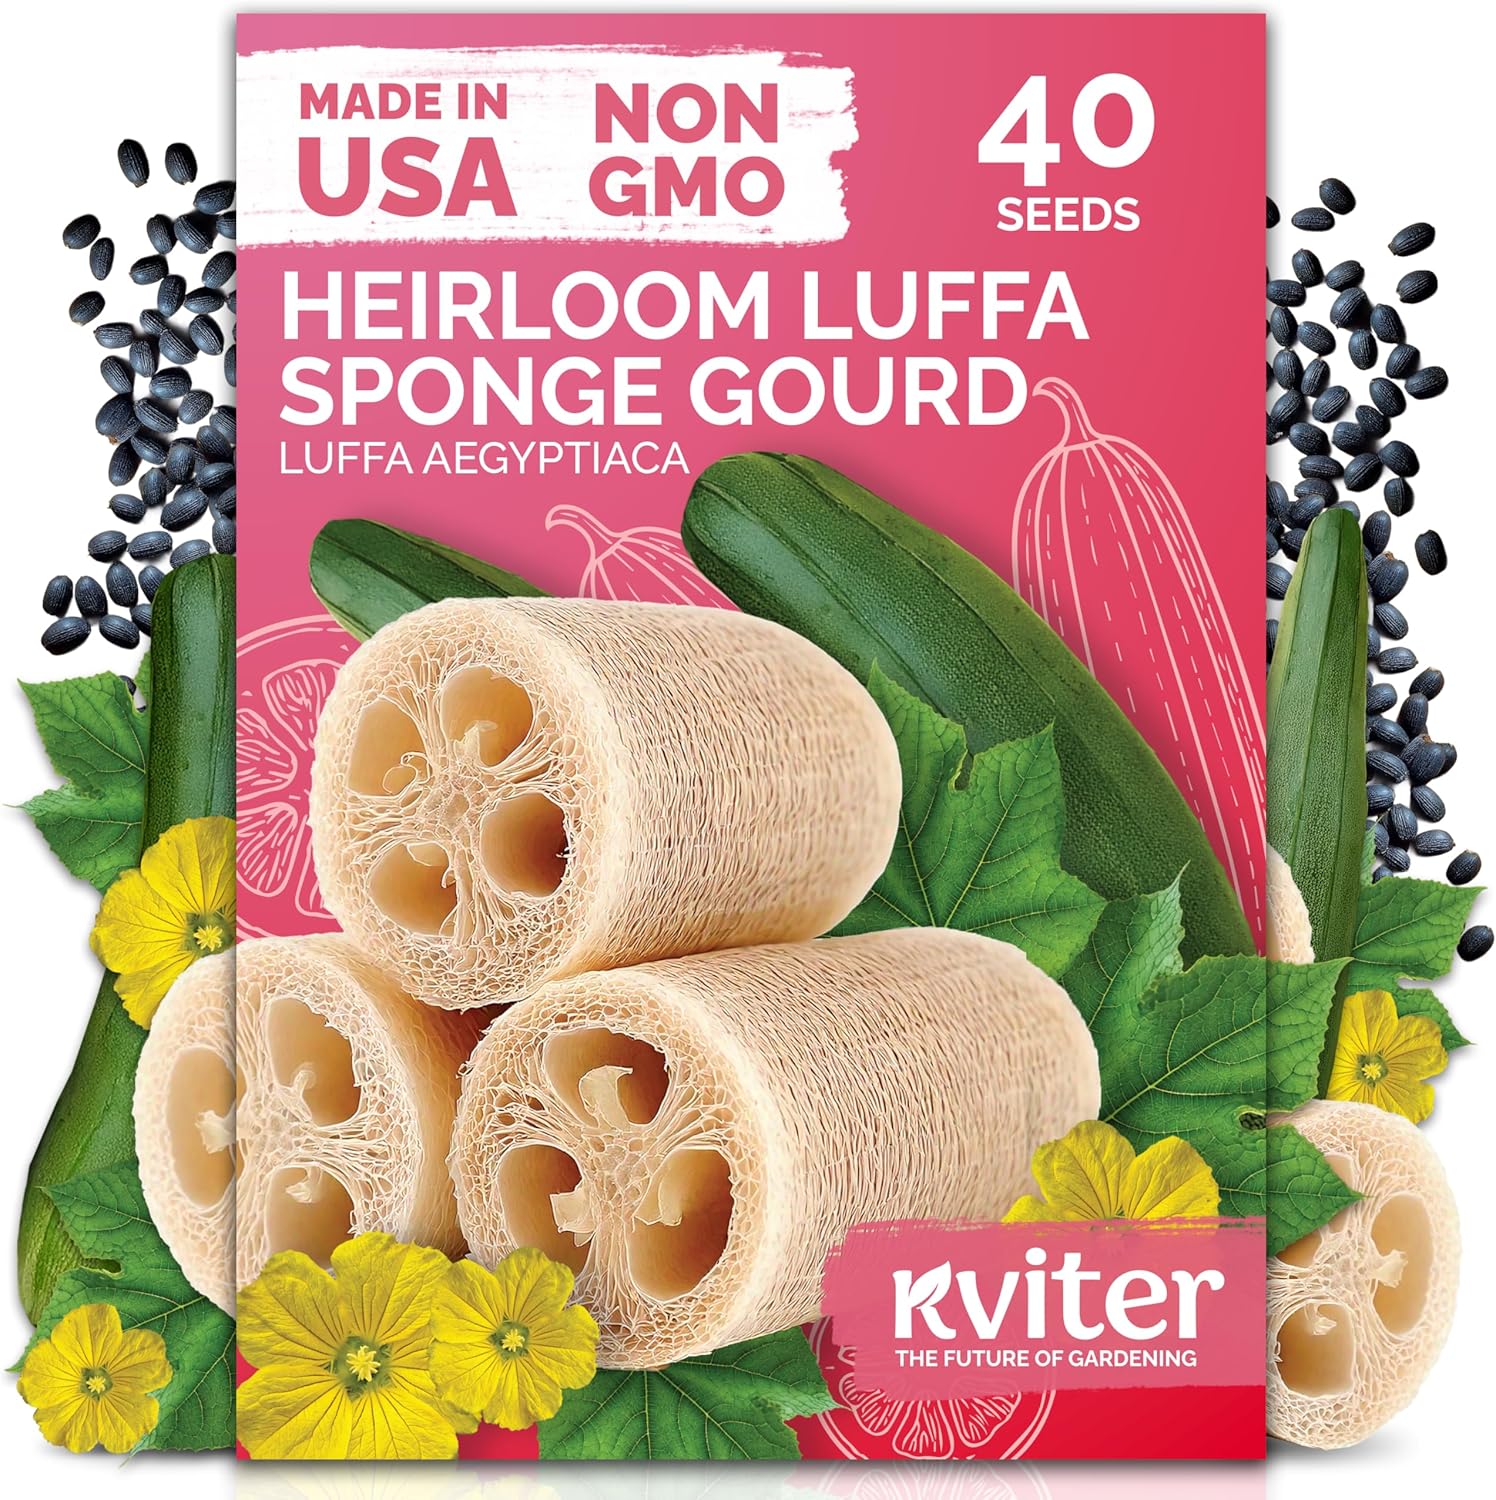
KVITER Heirloom Luffa Seeds (40 Count)
Fast-sprouting non-GMO seeds with 90%+ germination - grow your own natural sponges in one season
Buy on Amazon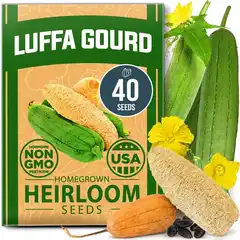
HOME GROWN Non-GMO Luffa Gourd Seeds (40 Seeds)
High-yield heirloom variety - harvest for sponges or eat young as a vegetable - includes growing guide
Buy on AmazonAs an Amazon Associate, we earn from qualifying purchases.
What You'll Need
Gather these supplies before you start processing:
- Large bucket or tub — Big enough to submerge gourds
- Water — Warm water speeds softening
- Garden hose or sink sprayer — For rinsing
- Container for seeds — Save them for next year
- Drying rack or clothesline — Good airflow is essential
- Optional: Hydrogen peroxide or lemon juice — For whitening
- Optional: Rubber gloves — Protect hands during extended work
Step 1: Assess Your Gourds
Before processing, confirm your gourds are ready. The skin should be tan or brown (not green), the gourd should feel lightweight and hollow, seeds should rattle when shaken, and the skin should be dry and papery, possibly cracking.
If gourds still have green areas or feel heavy, allow more drying time. Processing unripe loofah results in soft, weak sponges that won't last. For help determining optimal maturity, see our harvest timing guide.
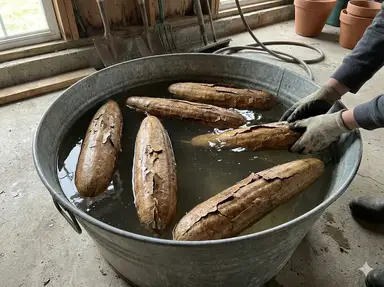
Step 2: Soak the Gourds
Submerge dried gourds in warm water. The skin needs to soften before it will peel easily. Use warm (not hot) water to speed the process, and soak for 10-30 minutes depending on dryness. Test readiness by pinching—skin should feel soft and peel easily.
Tip: Very dry gourds may need longer soaking. If skin is still tough after 30 minutes, let them soak up to an hour. Some gardeners soak overnight for stubborn gourds.
Skip Soaking for Very Ripe Gourds
If your loofah dried completely on the vine and the skin is already cracking and peeling, you may not need to soak at all. Just peel directly—the skin often slips right off fully dried gourds.
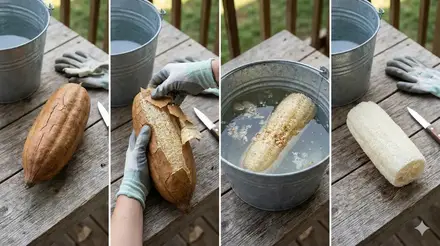
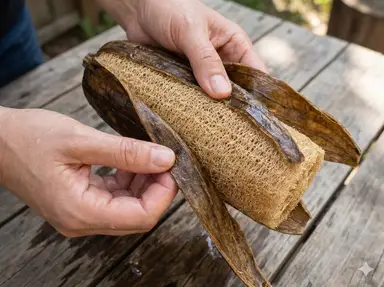
Step 3: Peel the Skin
This is the most satisfying part! The skin should peel away easily to reveal the fibrous sponge beneath. Start at the stem end where the skin often lifts more easily. Use your thumbs to push under the skin and peel in strips, working around the gourd like you're unwrapping a gift. Remove all skin, checking for remaining bits in crevices.
If skin is stubborn, soak longer. Don't force it—tearing the fiber damages your sponge. Properly softened skin practically falls off.
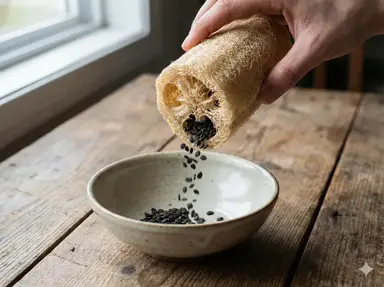
Step 4: Remove Seeds
Loofah gourds contain dozens of flat, black seeds inside the fiber chambers. Remove them all by shaking vigorously—most seeds will fall out the ends. Squeeze and shake to release stuck seeds, then reach inside with your fingers to extract stubborn seeds from fiber pockets. For very long gourds, cut in half to access central seeds.
Save your seeds! Dried loofah seeds remain viable for 2-3 years when stored properly. See our complete seed saving and storage guide to preserve seeds and grow next year's crop for free.
Don't Skip Seed Removal
Seeds left inside can mold, cause odors, and create dark spots in your sponge. Take time to get them all out—a thorough shake and squeeze is worth the effort.
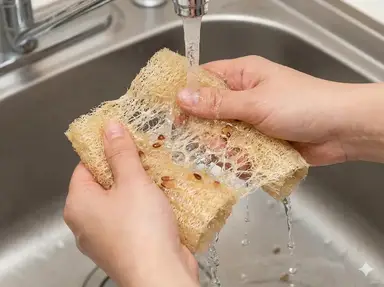
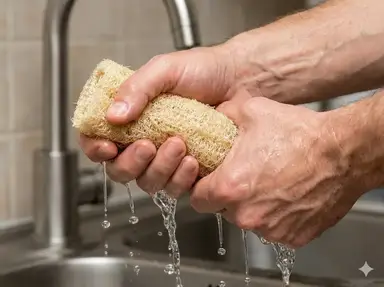
Step 5: Rinse and Clean
The fiber contains sap residue that needs to be washed out. This step determines how clean and white your final sponge will be. Use running water (a hose or sink sprayer works best), squeeze repeatedly to work water through all the fiber, and watch the runoff—it starts murky brown and becomes clearer. Keep rinsing until water runs completely clear, then squeeze out excess water.
This step takes 5-10 minutes per gourd. Don't rush—thorough rinsing prevents odors and discoloration later.
Step 6: Bleach (Optional)
Natural loofah ranges from cream to tan color. If you want bright white sponges, a gentle bleaching step helps.
Natural bleaching options:
- Hydrogen peroxide: Soak in 3% solution for 24 hours
- Lemon juice: Soak in diluted lemon juice, then sun dry
- Sun bleaching: Extended sun exposure naturally whitens fiber
Note: Bleaching is purely cosmetic. Natural tan-colored loofah works just as well as white. Skip this step if you prefer the natural look or want to avoid extra chemicals. For more details, see our natural bleaching guide.
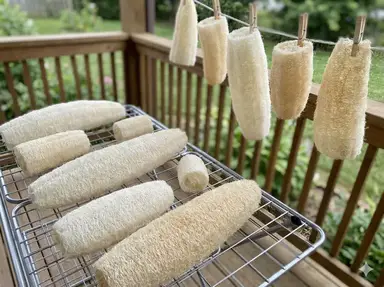
Step 7: Dry Completely
This step is critical. Sponges that aren't completely dry will mold. Give them ample time and airflow. Place in a sunny spot with good air circulation, hang on a clothesline or lay on a drying rack, and rotate sponges every few hours for even drying. Allow 2-5 days depending on humidity and thickness. Test by checking that the sponge feels completely dry inside and out.
Don't rush this step. A sponge that feels dry on the outside may still be damp in the center. For detailed drying techniques and preventing mold, see our comprehensive loofah drying methods guide.
Speed Drying Tip
In humid climates, use a fan to speed drying. Point it at hanging sponges and leave it running. A dehydrator on low heat also works for small batches.
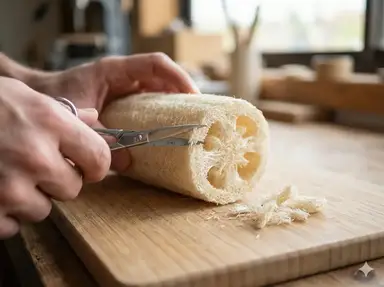
Cutting Sponges to Size
Whole loofah gourds are often 12-24 inches long—too big for most uses. Cut them into practical sizes:
- Bath/body sponges: 4-6 inch sections
- Kitchen scrubbers: 3-4 inch rounds or squares
- Facial pads: 2-3 inch thin slices
- Soap inserts: Cut to fit soap molds
Use sharp scissors or a serrated knife. Cut when dry—wet fiber compresses unevenly.
Storing Processed Loofah
Properly dried loofah lasts for years when stored correctly. Keep dry by storing in a breathable container or paper bag, avoid plastic (sealed plastic traps moisture and causes mold), keep in a cool location away from heat and direct sunlight, and check periodically—discard any showing mold or musty smell.
For more details, see our complete loofah storage guide.
Troubleshooting Common Problems
Skin Won't Peel
Cause: Not soaked long enough. Fix: Soak another 30-60 minutes in warm water. For very stubborn skin, try overnight soaking.
Soft, Weak Fiber
Cause: Harvested too early before fiber fully developed. Fix: Nothing to do now—use for light cleaning or crafts. Next time, wait for full maturity before harvesting.
Dark Spots or Discoloration
Cause: Mold, bruising, or incomplete rinsing. Fix: Cut away affected areas. Remaining sponge is still usable. Prevent by thorough rinsing and complete drying.
Musty Smell
Cause: Dried before fully rinsed, or stored while still damp. Fix: Re-soak, rinse thoroughly, and dry completely. If smell persists, discard.
What's Next?
Congratulations—you've turned your homegrown gourds into beautiful, functional sponges! Here's what to do with them:
- Use for bathing — Gentle exfoliation for smooth skin
- Use in the kitchen — Eco-friendly dish scrubbing
- Make loofah soap — Embed in homemade soap bars
- Create gift sets — Package with soaps and oils
- Craft projects — Endless creative possibilities
One healthy loofah plant produces 10-15 sponges—plenty for yourself with extras to share. Enjoy the satisfaction of using something you grew yourself!