Loofah seeds are stubborn. Unlike tomatoes or peppers that pop up in days, loofah makes you wait—sometimes three weeks—while you obsessively check the soil surface for any sign of life. And then, just when you've convinced yourself nothing's happening, a thick green stem pushes through.
I've started hundreds of loofah seeds over the years, and I still feel that mix of impatience and anticipation every spring. The waiting is the hardest part. But get the setup right, and germination rates are surprisingly good—I typically see 80-90% of properly treated seeds come up.
This guide walks you through every step from seed to transplant-ready seedling—a crucial part of the complete seed-to-sponge journey. Whether you've never started seeds indoors or you're troubleshooting last year's failures, you'll find what you need here.
Recommended Seed Starting Supplies
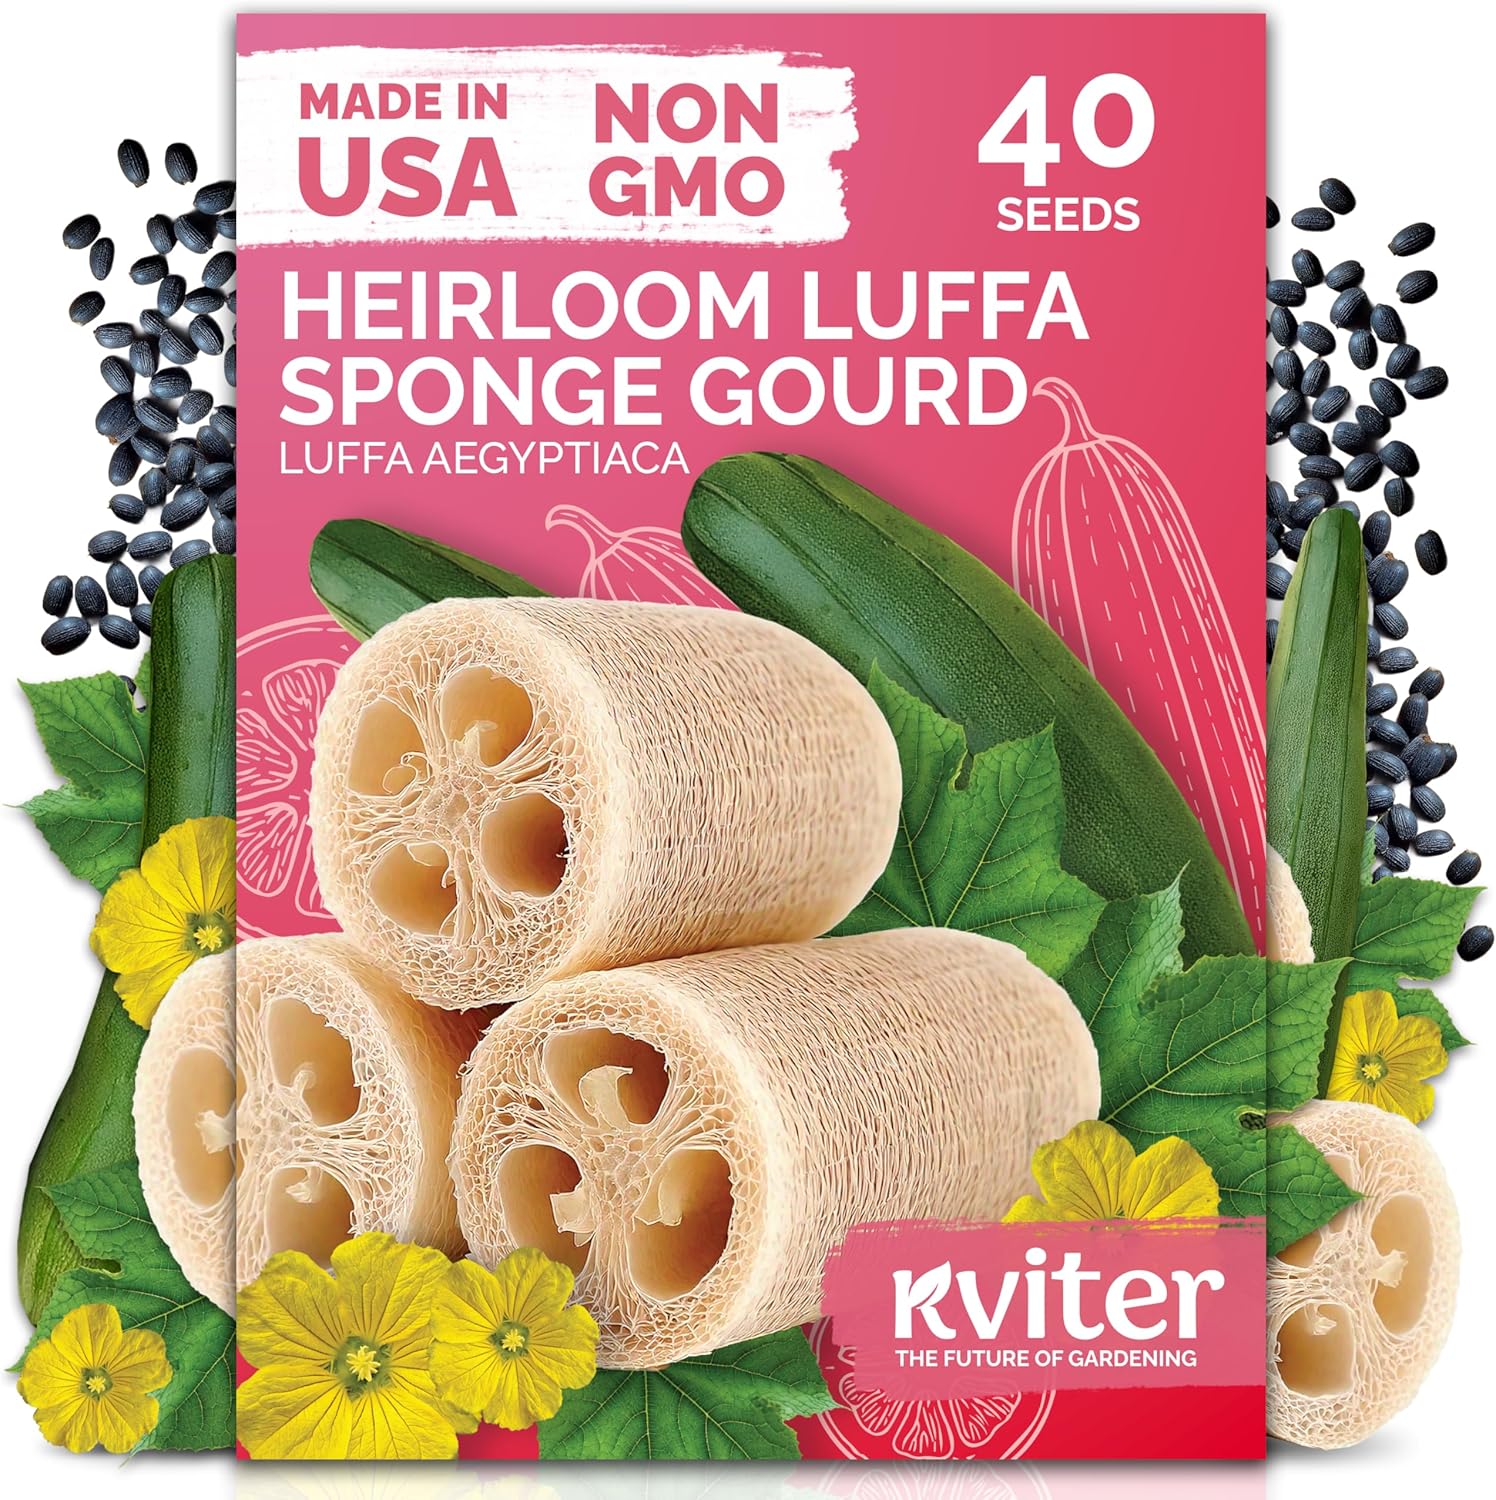
KVITER Heirloom Luffa Seeds (40 Count)
Fast-sprouting non-GMO seeds with 90%+ germination rate. Perfect for beginners wanting reliable results.
Check Price on Amazon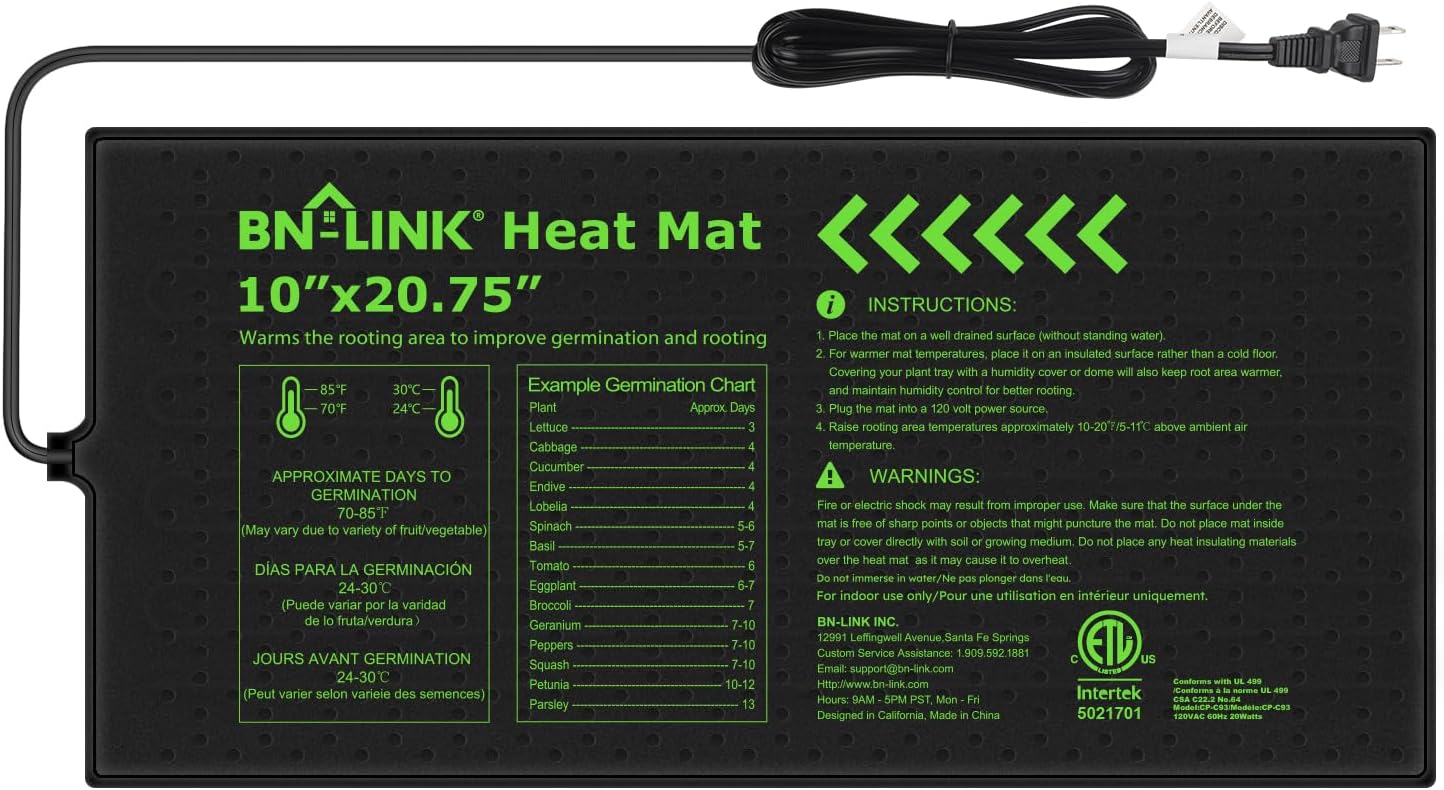
BN-LINK Seedling Heat Mat
Cuts germination time in half with consistent 75-85°F warmth. Waterproof and durable for years of use.
Check Price on Amazon
GooingTop Full Spectrum LED Grow Light with Timer
Start seeds indoors months early with adjustable height and built-in timer. Full spectrum promotes strong seedling growth.
Check Price on AmazonAs an Amazon Associate, we earn from qualifying purchases. See all our seed recommendations →
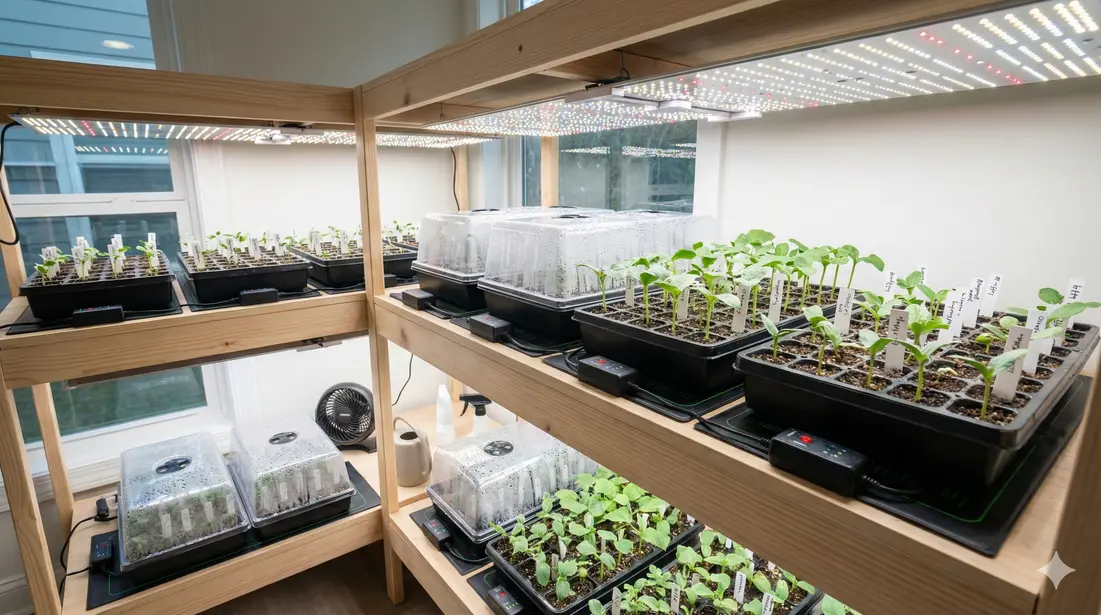
Why Start Loofah Seeds Indoors?
In zones 8-10, you don't have to start indoors—direct sowing works fine. But for the rest of us, starting indoors isn't optional if we want mature sponges before frost. For northern gardeners in cold climates, this step is essential for success. Here's why:
Loofah needs 150-200 frost-free days. In zones 5-7, starting indoors gives you an extra 4-6 weeks of growing time. That's often the difference between harvesting 10 mature gourds or 3 half-developed ones.
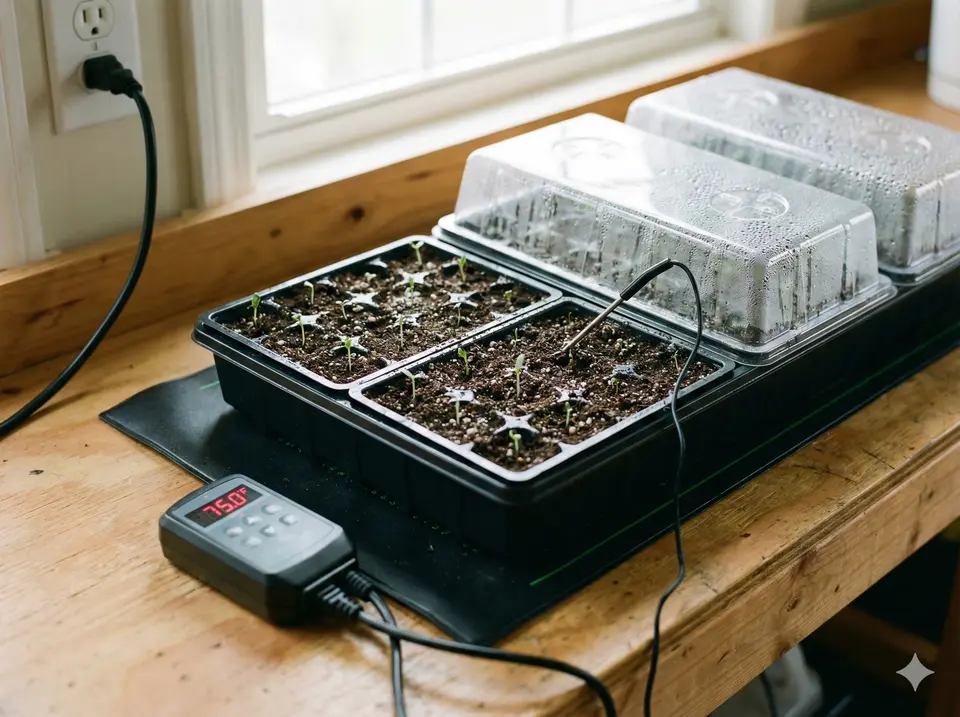
Loofah seeds need warm soil (75-85°F) to germinate reliably. Your garden soil won't reach those temperatures until well after your last frost date. A heat mat indoors creates perfect conditions regardless of weather.
Direct-sown seeds face hungry birds, cutworms, slugs, and unexpected cold snaps. Indoor seedlings develop in a controlled environment where nothing can attack them during their most vulnerable weeks.
Getting the Timing Right
Start too early and you'll have rootbound plants climbing your curtains. Start too late and you lose the advantage of indoor starting altogether. The sweet spot is 4-6 weeks before your last expected frost date.
| Your Zone | Last Frost (Typical) | Start Seeds Indoors |
|---|---|---|
| Zone 5 | May 15-30 | April 1-15 |
| Zone 6 | April 30 - May 15 | March 20 - April 5 |
| Zone 7 | April 15-30 | March 1-15 |
| Zone 8+ | March or earlier | Optional - direct sow |
Not sure of your zone or frost dates? Check our complete zone timing guide.
What You'll Need
Gather everything before you start. Nothing's worse than realizing you don't have potting mix after you've already soaked your seeds. If you want a complete seed starting setup, check our kit recommendations.
Essential Supplies
- Loofah seeds — Fresh seeds (1-2 years old) germinate best. Older seeds have lower rates.
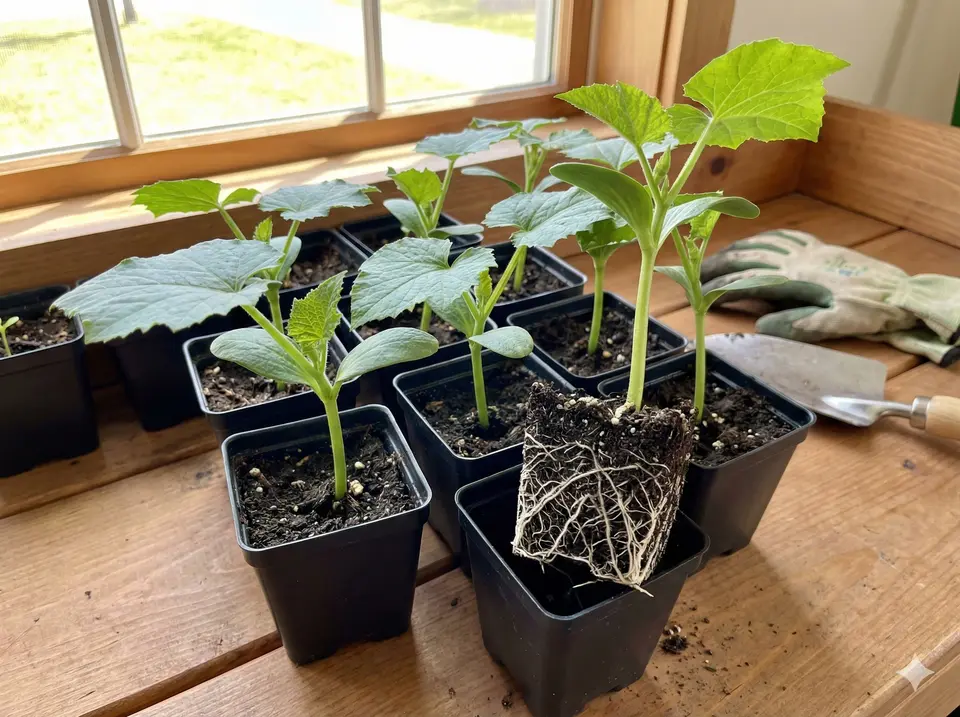
- 4" pots or peat pots — Loofah develops a taproot quickly. Small cells stunt growth.
- Seed-starting mix — Light, sterile, well-draining. Don't use garden soil.
- Heat mat — Keeps soil at 75-85°F for optimal germination.
- Grow lights or sunny window — Seedlings need 14-16 hours of light daily.
- Spray bottle — For gentle watering without disturbing seeds.
- Clear plastic dome or wrap — Maintains humidity during germination.
Nice to Have
- Soil thermometer — Takes guesswork out of temperature monitoring
- Timer for grow lights — Automates light schedule
- Small fan — Strengthens stems and prevents damping off
Seed Preparation: The Soaking Secret
Loofah seeds have a hard, water-resistant coat that evolved to survive passing through animal digestive systems. In nature, this coat breaks down slowly. In your seed tray, it can prevent germination entirely.
Soaking softens the coat and triggers the seed's internal clock to start germinating. It's a simple step that dramatically improves success rates.
How to Prepare Seeds
- Fill a container with warm (not hot) water — Around 80-90°F is ideal
- Drop in your seeds — They'll float at first; that's normal
- Let soak for 24 hours — Seeds may sink as they absorb water
- Drain and plant immediately — Don't let seeds dry out after soaking
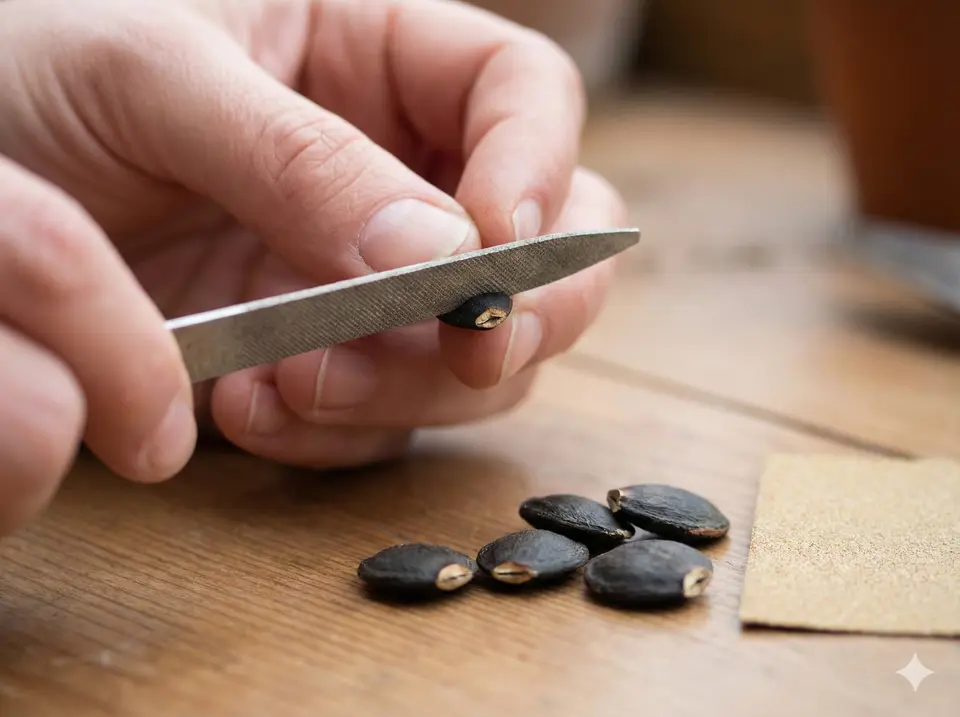
Optional: Scarification
For stubborn seeds, lightly nick the seed coat with a nail file or sandpaper before soaking. Don't go deep—just scratch the surface to help water penetrate. This is especially helpful for older seeds that haven't responded to soaking alone.
Planting Step-by-Step
With prepared seeds in hand, it's time to plant. This part is straightforward—loofah isn't picky about planting technique.
Fill 4" pots with moistened seed-starting mix to about 1" from the top. The mix should be damp but not soggy—like a wrung-out sponge. Pre-moistening prevents seeds from floating away when you water.
Poke a hole about 1" deep. Drop in one seed per pot, pointed end down if you can identify it (otherwise flat is fine). Cover with mix and press gently to ensure good soil contact.
Cover pots with a clear plastic dome or plastic wrap to maintain humidity. This creates a greenhouse effect that keeps moisture consistent during germination. Remove daily to prevent mold.
Place pots on a heat mat set to 75-85°F. Consistent warmth is key—temperature fluctuations slow germination. Check soil temperature with a thermometer, not air temperature (soil is often cooler).
The Germination Phase
Now comes the waiting game. Loofah germination typically takes 7-21 days, with most seeds emerging around days 10-14. Don't panic if nothing happens in the first week.
What's Happening Underground
During this time, the seed is absorbing water, breaking down stored nutrients, and sending out a root before any green appears above the soil. The cotyledons (seed leaves) are developing inside the seed coat, gathering strength for their push to the surface.
Your Job During Germination
- Maintain moisture: Soil should stay consistently damp. Mist with a spray bottle if the surface dries out.
- Keep the heat on: Don't turn off the heat mat until seeds germinate.
- Vent daily: Lift the humidity dome for 15-30 minutes to exchange air and prevent mold.
- Be patient: Some seeds are slow. Give them three full weeks before giving up.
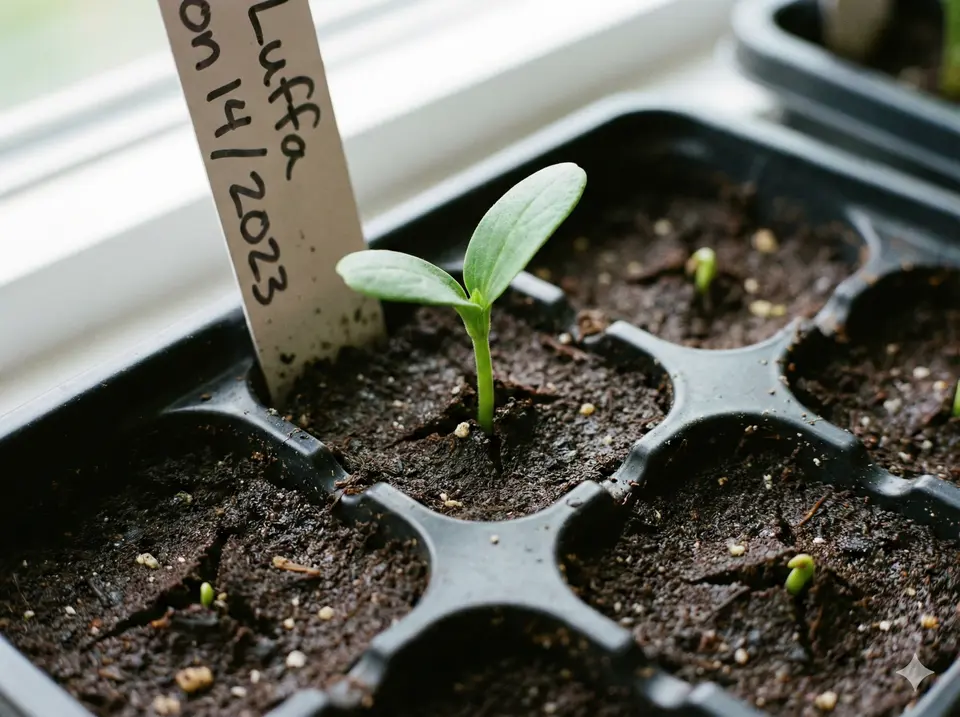
Signs of Success
First, you'll notice the soil surface cracking or mounding slightly. Within a day or two, a thick, curved stem pushes through, often still wearing the seed coat like a little hat. The cotyledons unfold over the next 24-48 hours, revealing two rounded seed leaves.
Once you see green, remove the humidity dome and move the pot to strong light immediately. Seedlings that don't get enough light right away become leggy and weak.
Caring for Seedlings
Germination is just the beginning. The next 3-5 weeks determine whether you transplant healthy, vigorous seedlings or weak, stretched plants that struggle to establish.
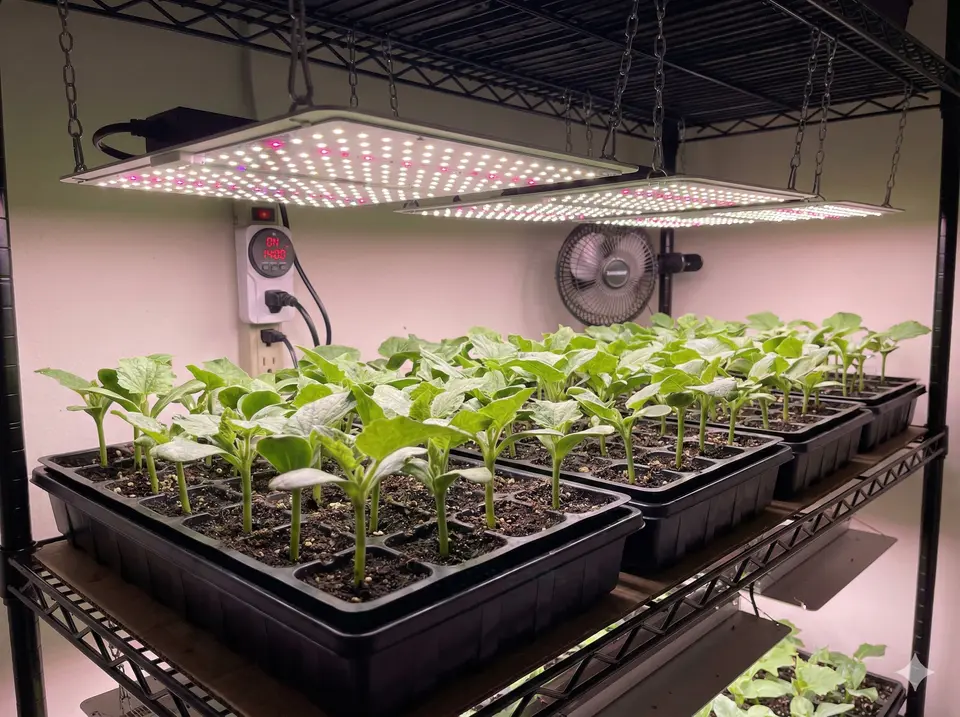
Light Requirements
Loofah seedlings need 14-16 hours of bright light daily. A south-facing window might work in late spring, but most situations require grow lights. Position lights 2-4 inches above seedlings and raise them as plants grow.
Temperature After Germination
Once seedlings emerge, you can turn off the heat mat. Loofah grows fine at normal room temperatures (65-75°F). Just avoid cold drafts from windows or doors.
Watering
Keep soil consistently moist but never waterlogged. Water when the top 1/2 inch feels dry. Overwatering causes more seedling deaths than underwatering—err on the dry side if unsure.
Feeding
Seed-starting mix has minimal nutrients. Once seedlings develop their first true leaves (the lobed leaves that look different from the round cotyledons), begin feeding with diluted liquid fertilizer (1/4 strength) weekly.
- Brush gently: Running your hand lightly over seedlings daily stimulates thigmomorphogenesis—stronger stem development triggered by physical stress.
- Rotate pots: Turn pots quarter-turn daily if using window light to prevent leaning.
- Use a fan: Gentle airflow strengthens stems and reduces fungal problems.
- Don't crowd: Loofah leaves get big. Give each pot space once true leaves develop.
Hardening Off: Preparing for the Great Outdoors
Transplanting shock kills more seedlings than cold weather. The solution is hardening off—gradually acclimating indoor plants to outdoor conditions over 7-14 days. If you're limited on garden space, you can transplant into containers instead.
Hardening Off Schedule
Start hardening off 1-2 weeks before your planned transplant date, after all frost danger has passed:
- Days 1-2: Place seedlings outside in full shade for 2-3 hours. Bring inside at night.
- Days 3-4: Increase to 4-5 hours outside, with 1-2 hours of morning sun. Bring inside at night.
- Days 5-7: Full day outside with increasing direct sun exposure. Bring inside only if night temps drop below 55°F.
- Days 8-10: Leave outside overnight if temperatures are mild (above 55°F). Full sun during day.
- Days 11-14: Seedlings should be fully acclimated. Ready to transplant.
Troubleshooting Common Problems
Seeds haven't germinated after 3 weeks
Check soil temperature—if it's below 70°F, germination slows dramatically. Also verify you're not overwatering (causes rot) or letting soil dry out completely. If seeds are more than 3-4 years old, viability drops significantly. Try soaking and scarifying next batch. For more help, see our guide to troubleshooting germination problems.
Seedlings are tall, thin, and leaning
This is etiolation—caused by insufficient light. Move lights closer (2-4 inches above seedlings) and ensure 14-16 hours daily. You can bury the leggy stem deeper when transplanting, but prevention is better than cure.
Seedlings collapsed overnight (damping off)
Damping off is a fungal disease that causes stems to rot at soil level. It's caused by overwatering, poor air circulation, and contaminated soil. Use sterile seed-starting mix, water from below when possible, and ensure good airflow. Infected seedlings can't be saved.
Leaves turning yellow
Yellow leaves usually indicate overwatering or nutrient deficiency. Check that pots drain well and reduce watering frequency. If true leaves are yellowing, start feeding with diluted fertilizer.
Seed coat stuck on cotyledons
This happens when humidity is too low during germination. Mist the stuck seed coat several times a day to soften it. If it doesn't come off naturally, gently remove it with tweezers after softening—but be careful not to damage the leaves beneath.