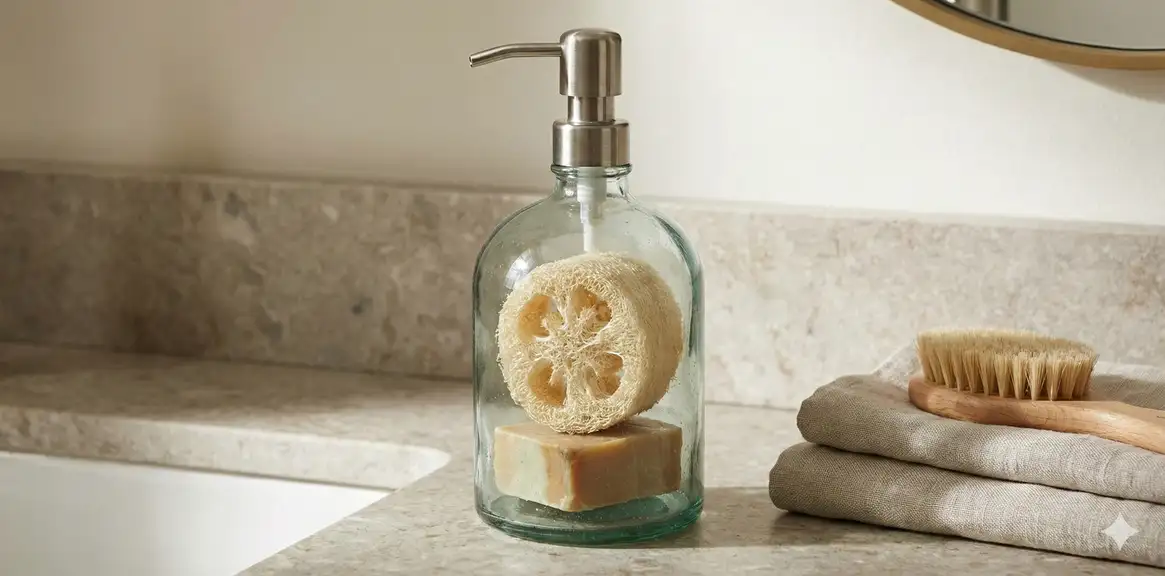
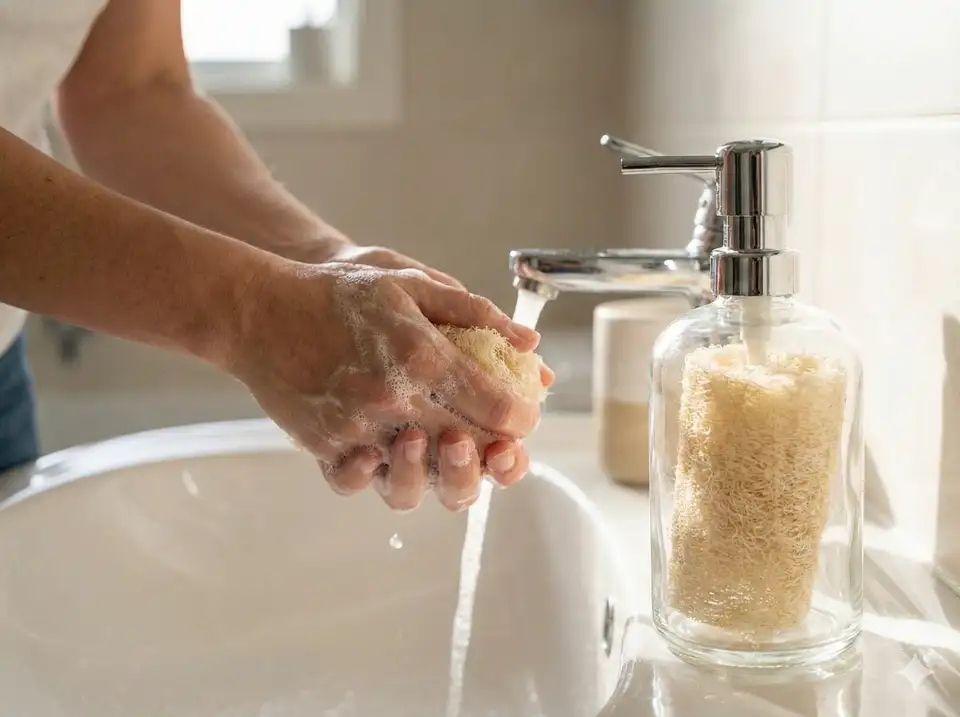
Transform a natural loofah into a beautiful, functional soap dispenser that doubles as rustic bathroom decor. This simple project combines the organic texture of loofah with the practicality of a pump dispenser, creating an eco-friendly bathroom upgrade that guests will love.
Unlike plastic soap dispensers that end up in landfills, a loofah-wrapped dispenser is partially biodegradable and brings natural warmth to any bathroom or kitchen. Beyond this project, you can explore kitchen loofah projects for more sustainable swaps. The textured surface of the loofah creates visual interest while hiding fingerprints and water spots that would show on glass alone. It's also a perfect handmade gift option for eco-conscious friends and family who appreciate thoughtful, sustainable presents.
This project works well whether you grow craft supplies yourself or purchase dried loofah online. Either way, you'll end up with a one-of-a-kind piece that costs a fraction of designer bathroom accessories.
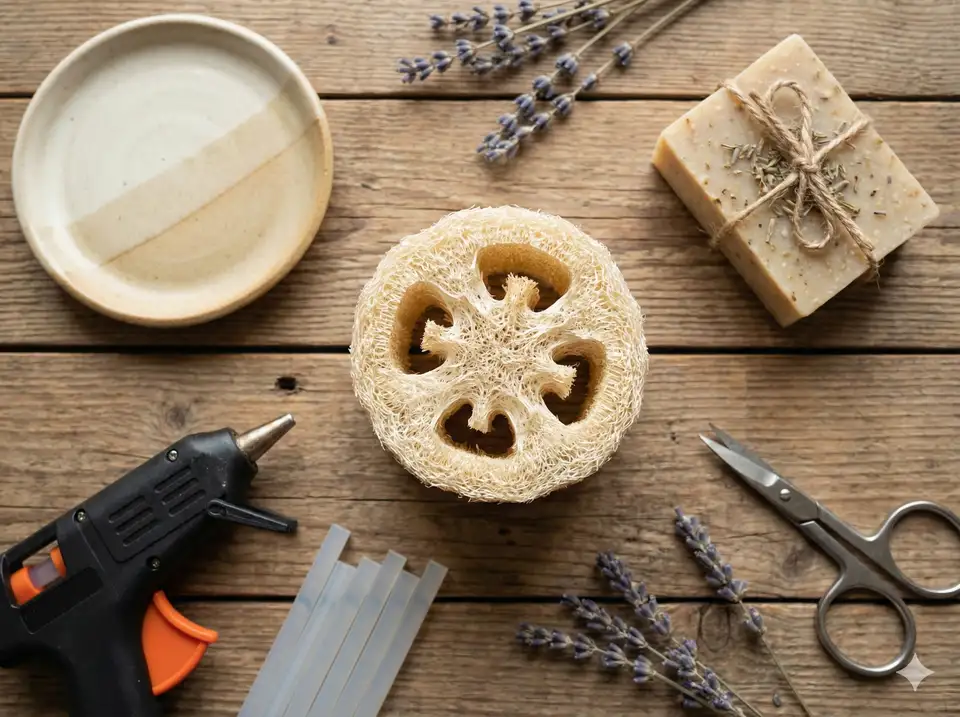
What You'll Need
Gathering your supplies before starting makes the project go smoothly. Most items can be found at craft stores or ordered online. The total cost is typically $10-15, and you'll likely have leftover loofah for more DIY loofah crafts.
- 1 dried loofah (whole): Look for one with uniform texture and no dark spots - dense loofahs work best
- Mason jar or glass container: 16 oz size works well for bathroom use
- Soap pump dispenser lid: Stainless steel or bronze finish recommended
- Hot glue sticks: 2-3 sticks should be plenty
- Twine or jute rope (optional): For decorative accents
- Sharp scissors or utility knife: For cutting the loofah cleanly
- Hot glue gun: Low-temp works but high-temp holds better
- Measuring tape: To measure jar dimensions
- Bowl of warm water: For soaking the loofah
Step-by-Step Instructions
Follow these steps carefully for best results. The entire project takes about 30 minutes of active work, plus 24 hours of drying time. Working with a damp loofah is key to preventing cracking and achieving a smooth finish.
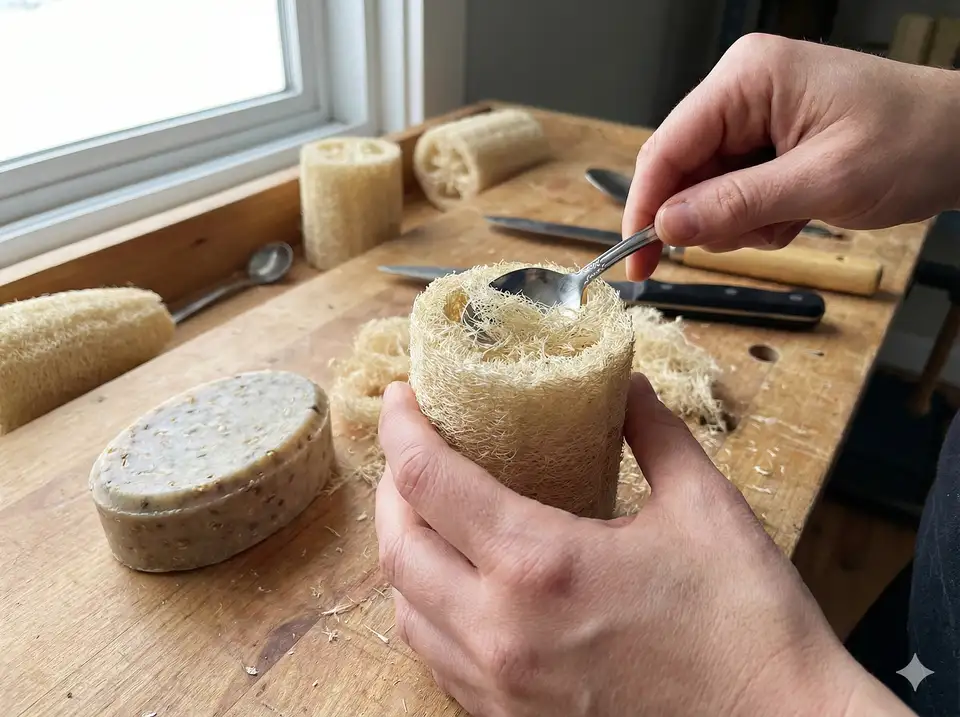
Step 1: Prepare Your Loofah
Start with a fully dried loofah. Soak it in warm water for 5-10 minutes to make it pliable and easier to work with. This is the most important step because it prevents cracking when you cut and shape the loofah around the jar.
Once softened, squeeze out excess water. The loofah should be damp but not dripping. If your loofah has seeds or debris inside, shake them out after soaking. A clean loofah looks better as a finished product, and you can save those seeds for planting next year.
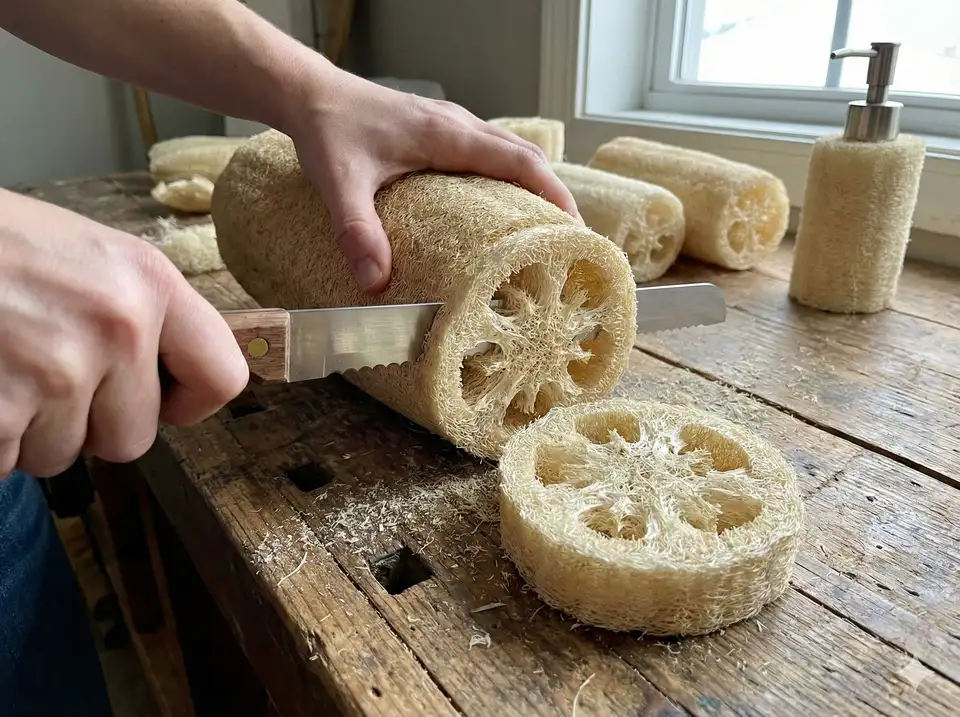
Step 2: Measure and Cut
Measure the height of your jar (excluding the neck where the lid screws on). Cut a section of loofah to match this height. The loofah needs to wrap around the jar's circumference, so measure that as well and add about half an inch for overlap.
Using sharp scissors or a utility knife, cut the loofah lengthwise to create a flat sheet. For tips on preparing loofah for projects, see our guide. If your loofah is hollow, this is easy - just slice along one side. Cut slightly larger than needed since you can always trim excess, but you can't add material back.
Step 3: Attach Loofah to Jar
With your loofah sheet still damp, wrap it around the jar to test the fit. Mark where the edges meet, allowing for a small overlap (about half an inch). Apply hot glue in a vertical line along the jar, then press the loofah edge into it firmly.
Work your way around the jar, applying glue in 2-3 inch sections and smoothing the loofah as you go. Where the ends meet, apply extra glue to secure the overlap. Hold firmly until the glue sets, about 30 seconds. The key is working quickly before the glue cools.
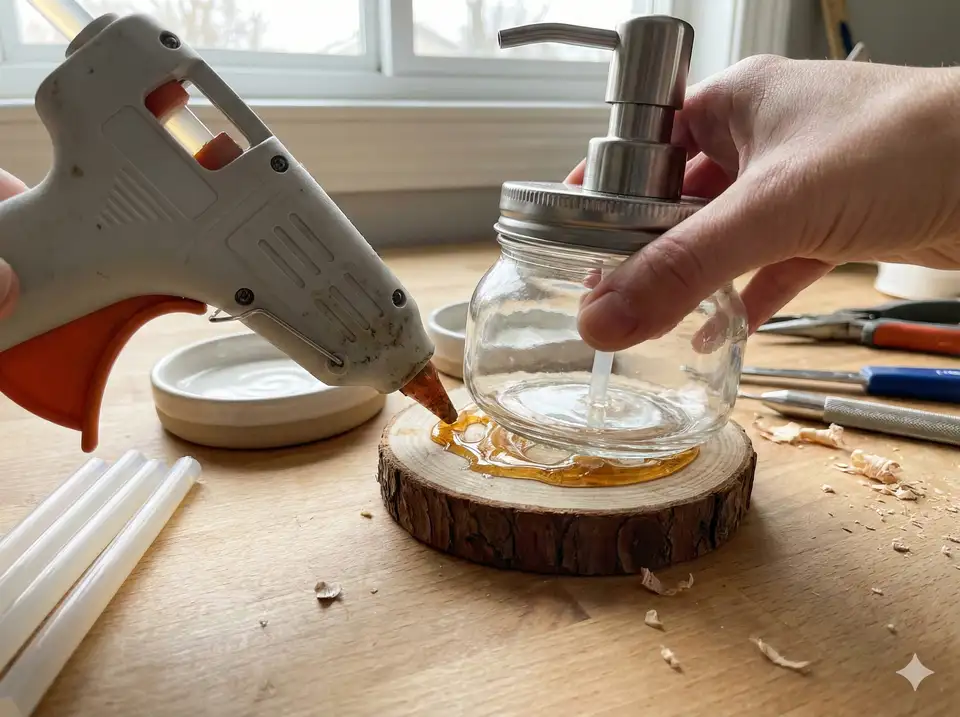
Step 4: Secure Top and Bottom
Apply a thin line of hot glue around the top and bottom edges of the loofah, pressing it firmly against the jar. This prevents the loofah from peeling away over time as it dries and shrinks slightly.
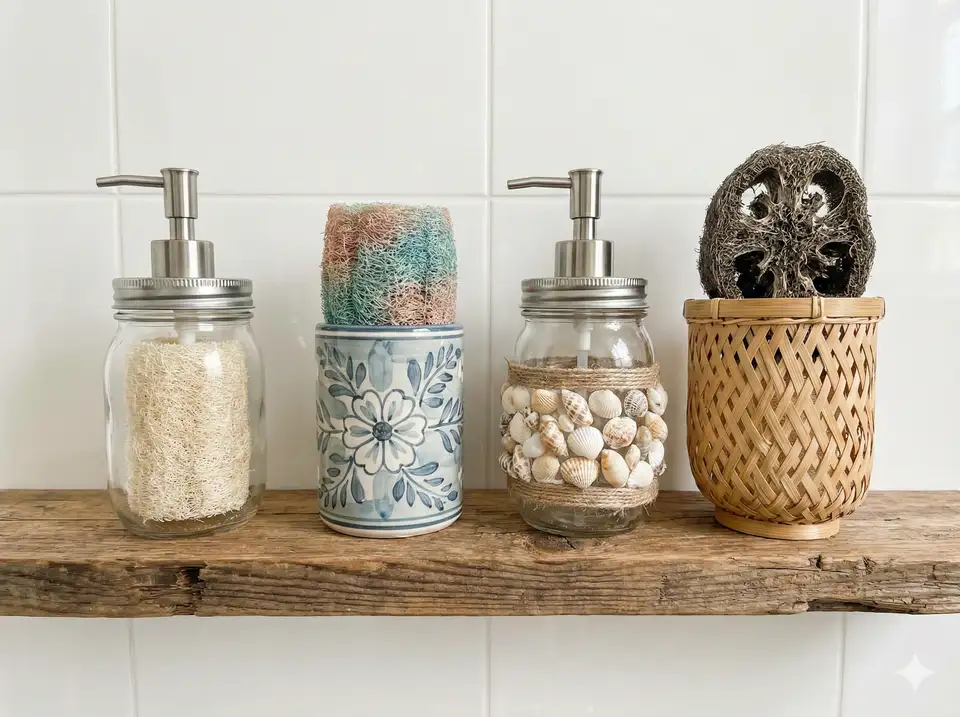
For extra security (and a decorative touch), wrap twine or jute rope around the top and bottom edges, securing with a dab of glue. This hides any uneven edges and adds a rustic farmhouse aesthetic that complements the natural loofah texture.
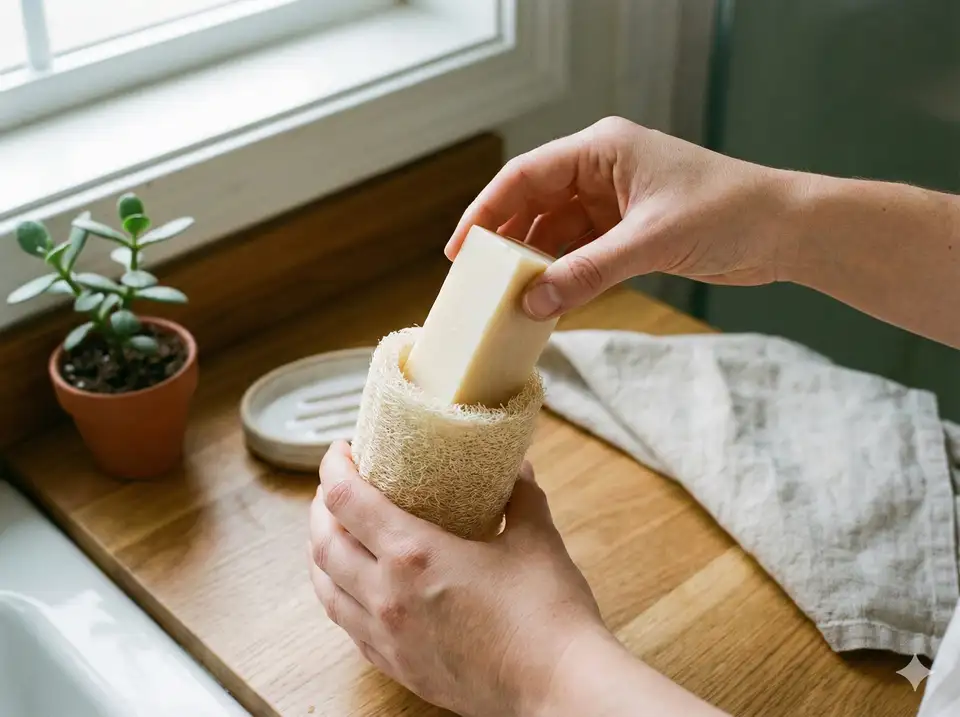
Step 5: Add the Pump
Fill your jar with liquid soap - hand soap, dish soap, or body wash all work great. Screw on the pump dispenser lid. Make sure the pump tube reaches the bottom of the jar so you can use all the soap. If the tube is too long, trim it to the appropriate length.
Test the pump to ensure it works smoothly. Prime the pump by pressing several times until soap flows. Choose a pump with a stainless steel or bronze finish to complement the natural loofah aesthetic.
Step 6: Let Dry Completely
Allow your finished dispenser to dry completely before regular use. The loofah will shrink slightly as it dries, creating an even tighter fit around the jar. Place in a well-ventilated area for 24 hours. Once dry, your loofah soap dispenser is ready to use!
- Work with damp loofah: This is the most important tip - dry loofah will crack and not conform to the jar shape
- Use high-temp glue: It holds better and dries faster than low-temp options
- Position seam at back: Place the overlap seam at the back of the dispenser for a cleaner look
- Make extras: One whole loofah can make 2-3 dispensers, so make a set for bathroom and kitchen
Creative Variations
Once you've mastered the basic technique, try these creative variations to personalize your soap dispenser. Each variation adds a unique touch that makes your creation even more special as a gift or home decor piece.
Use natural dyes or acrylic paint to add color to your loofah before attaching. Ombre effects work beautifully - dip-dye one end for a gradient look that transitions from natural to colored. Earth tones like sage green, dusty pink, or warm terracotta complement the natural loofah texture nicely.
Tuck small dried flowers (lavender, baby's breath, or pressed ferns) between the loofah and twine wrap for a cottage-core aesthetic. This creates a stunning gift presentation and adds a lovely natural fragrance. Secure flowers with a small dab of glue to keep them in place.
Add a small kraft paper tag tied with twine. Perfect for labeling contents ("Hand Soap," "Dish Soap") or adding as a gift tag when giving as a present. You can also add the recipient's name or a short message for a personalized touch.
Skip the soap and add battery-operated fairy lights inside a clear jar. The loofah diffuses the light beautifully for ambient decor lighting. This makes a wonderful nightlight for bathrooms or a decorative accent piece for any room.
Care & Maintenance
With proper care, your loofah soap dispenser will last 6-12 months before the loofah exterior needs replacing. The jar and pump can be reused indefinitely, making this a sustainable long-term bathroom solution.
- Wipe down weekly: Use a damp cloth to remove soap drips from the loofah exterior
- Keep away from direct water: Position away from shower spray or sink splashes
- Refill carefully: Avoid overfilling to prevent soap from leaking onto the loofah
- Replace when worn: The loofah exterior will last 6-12 months with normal use
Troubleshooting Common Issues
If you encounter problems with your soap dispenser, these solutions will help:
- Loofah peeling: Add more hot glue to secure edges. This usually happens if the loofah wasn't damp enough during assembly or if it's in a humid environment.
- Mold appearing: Ensure good ventilation and keep away from direct water. You may need to replace the loofah if mold persists. Consider moving the dispenser to a drier location.
- Soap not pumping: Check that the tube reaches the bottom of the jar. If using a thick soap like castile, dilute with a little water. Prime the pump by pressing several times.
More DIY Projects
Recommended Products
Almooni Egyptian Loofah Bath Sponges (3-Pack)
Premium thick-fiber natural loofahs - gentle exfoliation for all skin types - lasts 3-4 weeks each
Buy on Amazon
Natural Loofah Exfoliating Sponges (4-Pack)
100% organic biodegradable bath sponges - plastic-free alternative that's gentle on skin and planet
Buy on AmazonAs an Amazon Associate, we earn from qualifying purchases.